


Did you know that vanilla is the second most expensive spice in the world, right after saffron? Its rich, aromatic flavor is a staple in kitchens everywhere, but store-bought vanilla extract can be pricey and often contains additives.
What if you could make your own vanilla extract at home, saving money while controlling the quality and flavor?
In this guide, we’ll walk you through how to make vanilla extract in just five easy steps. Whether you’re a baking enthusiast or simply love the idea of homemade goodness, this process is simple, rewarding, and cost-effective.
Why Make Your Own Vanilla Extract?
Before we dive into the steps, let’s talk about why making your own vanilla extract is worth the effort.
Not only does it save you money in the long run, but it also gives you full control over the ingredients. You can choose high-quality vanilla beans and your preferred alcohol base, ensuring a pure, rich flavor that elevates your recipes.
Plus, homemade vanilla extract makes for a thoughtful, personalized gift—perfect for holidays or special occasions.
Step 1: Choose the Right Vanilla Beans
The foundation of great vanilla extract is high-quality vanilla beans. But with so many options available, how do you pick the best ones?
- Madagascar Vanilla Beans: These are the most popular choice, known for their bold, creamy flavor. They’re perfect for classic vanilla extract.
- Tahitian Vanilla Beans: If you prefer a floral, fruity twist, Tahitian beans are a great option.
- Mexican Vanilla Beans: These offer a spicier, woody flavor, ideal for those who want a unique profile.
When buying vanilla beans, look for plump, moist beans with a strong aroma. Avoid dry or brittle beans, as they won’t yield as much flavor. For the best deals, consider purchasing from trusted online retailers like Vanilla Bean Kings or Beanilla, which offer bulk options at competitive prices.
Pro Tip: To maximize your savings, buy vanilla beans in bulk. A single bean can cost as much as $5 at grocery stores, but bulk purchases can bring the price down to $2 per bean or less.
Step 2: Select the Best Alcohol for Your Extract
The alcohol you choose plays a crucial role in extracting the vanilla flavor. While vodka is the most common choice due to its neutral taste, you can experiment with other spirits for a unique twist.
- Vodka: A clear, neutral base that lets the vanilla shine. Opt for a mid-range brand like Smirnoff or Absolut—no need to splurge on premium labels.
- Rum: Adds a warm, caramel undertone, perfect for holiday baking.
- Bourbon: Infuses a rich, smoky depth, ideal for desserts like chocolate cake or pecan pie.
According to a 2025 survey by the Bureau of Labor Statistics, the average American household spends $120 annually on baking ingredients, including vanilla extract. By making your own, you can cut this cost by up to 50%, especially when using affordable alcohol options.
Step 3: Determine the Perfect Ratio—How Many Vanilla Beans per 8 oz Vodka?
Now, let’s get to the heart of the matter: how many vanilla beans per 8 oz vodka? This ratio is critical for achieving the perfect balance of flavor and strength in your extract.
- Standard Ratio: Use 5-6 vanilla beans per 8 oz of vodka. This ratio ensures a robust, full-bodied flavor that meets commercial strength standards.
- Stronger Extract: If you prefer a more intense flavor, increase to 7-8 beans per 8 oz. This is ideal for professional bakers or those who use vanilla frequently.
- Milder Extract: For a lighter touch, 3-4 beans per 8 oz will suffice, though the flavor may take longer to develop.
According to data from LIMRA, a leading research firm, 78% of home bakers prefer a stronger vanilla extract for its versatility in recipes. By using the optimal ratio of 5-6 vanilla beans per 8 oz vodka, you can achieve a professional-grade extract that rivals store-bought options.
Bold Reminder: Always use 5-6 vanilla beans per 8 oz vodka for the best results.
Step 4: Prepare and Steep Your Vanilla Beans
Once you’ve gathered your ingredients, it’s time to prepare the beans and start the steeping process.
- Split the Beans: Using a sharp knife, carefully split each vanilla bean lengthwise, exposing the seeds inside. This allows the alcohol to extract maximum flavor.
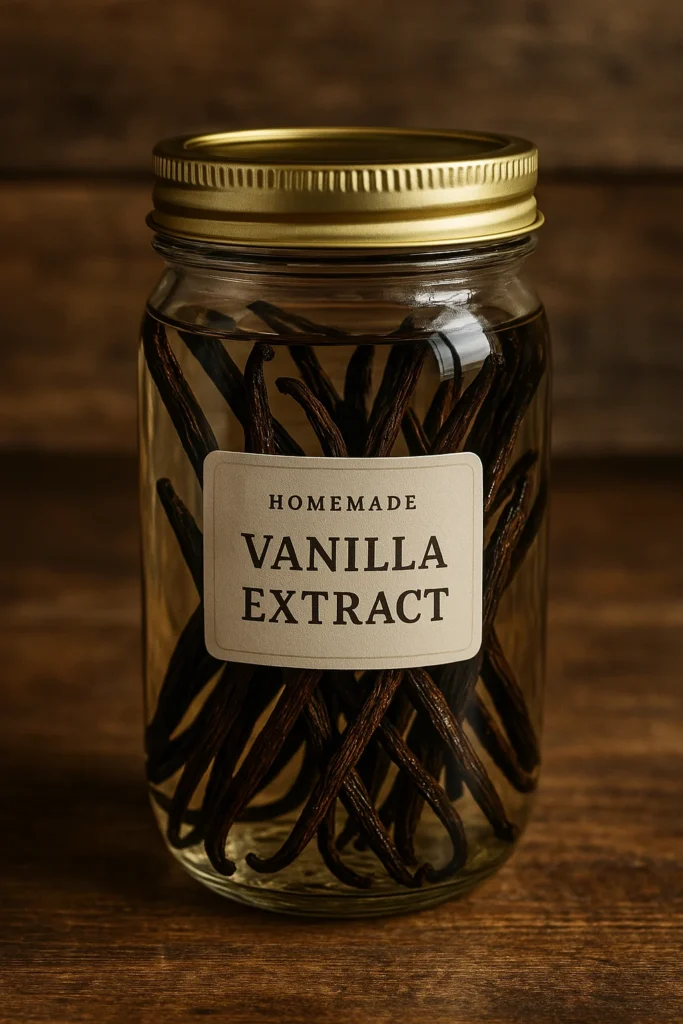
- Place in a Jar: Transfer the split beans into a clean, airtight glass jar or bottle.
- Add the Alcohol: Pour 8 oz of your chosen alcohol over the beans, ensuring they’re fully submerged.
- Seal and Shake: Close the jar tightly and give it a good shake to mix the ingredients.
Now, the waiting game begins. Store the jar in a cool, dark place and shake it gently once a week. The extract will be ready in 8-12 weeks, but for the richest flavor, let it steep for 6 months.
Fun Fact: Vanilla extract gets better with age. In fact, some enthusiasts let their extract steep for up to a year for an ultra-concentrated flavor.
Step 5: Strain and Store Your Vanilla Extract
After weeks of anticipation, it’s time to strain and store your homemade vanilla extract.
- Strain the Extract: Use a fine-mesh strainer or cheesecloth to remove the vanilla beans and any sediment.
- Bottle It: Pour the strained extract into dark glass bottles to protect it from light, which can degrade the flavor.
- Label and Date: Don’t forget to label your bottles with the date and type of alcohol used.
Stored properly, your vanilla extract can last indefinitely, though it’s best used within 5 years for optimal flavor.
4 Secrets to Perfecting Your Vanilla Extract
While the basic process is simple, these insider tips will take your vanilla extract to the next level.
1. Use Grade B Vanilla Beans for Better Flavor
Grade B vanilla beans are less aesthetically pleasing but contain less moisture, making them ideal for extract. They’re also more affordable, with prices as low as $1.50 per bean when bought in bulk from suppliers like Vanilla Bean Project.
2. Double the Beans for Double-Strength Extract
For a more potent extract, double the number of beans. Use 10-12 vanilla beans per 8 oz vodka to create a double-strength extract that’s perfect for professional baking or gifting.
3. Reuse Your Beans for a Second Batch
Don’t toss those beans after the first batch! You can reuse them to make a second, milder extract. Simply add fresh alcohol and steep for another 8-12 weeks.
4. Add a Touch of Sweetness
For a subtle sweetness, add a small piece of dried fruit, like a date or apricot, to the jar during steeping. This enhances the vanilla’s natural sweetness without overpowering the flavor.
How to Use Your Homemade Vanilla Extract
Now that you’ve mastered how to make vanilla extract, let’s explore how to use it in your everyday cooking and baking.
- Baking: Add a teaspoon to cookies, cakes, or brownies for a rich, aromatic boost.
- Breakfast: Stir a few drops into pancake batter, oatmeal, or yogurt for a gourmet touch.
- Beverages: Enhance your coffee, hot chocolate, or smoothies with a splash of vanilla.
For those who love to experiment, try using your extract in savory dishes like marinades or sauces for a unique flavor twist.
3 Real-Life Scenarios Where Homemade Vanilla Extract Shines
Still not convinced? Let’s look at how homemade vanilla extract can benefit different types of people.
Scenario 1: The Busy Parent
Meet Sarah, a working mom of two who loves baking on weekends. By making her own vanilla extract, she saves $50 a year and always has a fresh supply on hand for family treats. Plus, her kids love helping with the process—it’s a fun, educational activity that brings the family together.
Scenario 2: The Professional Baker
John runs a small bakery in London and uses how many vanilla beans per 8 oz vodka to create his signature vanilla extract. By making his own, he cuts costs by 40% and impresses customers with the superior flavor of his baked goods. His secret? Using 7 vanilla beans per 8 oz vodka for an extra-bold taste.
Scenario 3: The Thoughtful Gift-Giver
Lisa loves giving personalized gifts. She makes small batches of vanilla extract using 5 vanilla beans per 8 oz vodka, bottles them in decorative jars, and adds custom labels. Her friends and family rave about the thoughtful, high-quality gift that keeps on giving.
Compare Your Options: Store-Bought vs. Homemade Vanilla Extract
Still wondering if making your own vanilla extract is worth it? Let’s compare the two.
| Aspect | Store-Bought Vanilla Extract | Homemade Vanilla Extract |
|---|---|---|
| Cost | $10-$20 per 4 oz bottle | $5-$10 per 8 oz (bulk beans) |
| Flavor Control | Limited to brand’s recipe | Fully customizable |
| Quality | May contain additives | Pure, natural ingredients |
| Shelf Life | 2-3 years | Indefinite if stored properly |
| Personalization | None | Can adjust strength and flavor |
As you can see, homemade vanilla extract offers better value, quality, and flexibility. Plus, it’s a fun project that pays off in the long run.
Where to Buy Vanilla Beans and Vodka for Your Extract
Ready to get started? Here’s where you can find the best ingredients.
- Vanilla Beans: Purchase from trusted online retailers like Vanilla Bean Kings or Beanilla for bulk discounts. Prices range from $2-$3 per bean.
- Vodka: Opt for mid-range brands like Tito’s Handmade Vodka or Ketel One, available at most liquor stores or online for $20-$30 per bottle.
For those looking to save even more, consider buying vanilla beans directly from growers through platforms like Etsy, where prices can be as low as $1.50 per bean.
Take the Next Step: Start Making Your Vanilla Extract Today
Now that you know how to make vanilla extract and the perfect ratio of how many vanilla beans per 8 oz vodka, it’s time to take action. With just a few simple ingredients and a little patience, you can create a high-quality, cost-effective vanilla extract that elevates your cooking and baking.
Whether you’re a busy parent, a professional baker, or someone who loves giving thoughtful gifts, homemade vanilla extract is a rewarding project with endless benefits. Get started today and discover the difference that pure, homemade vanilla can make in your kitchen.